How to add a banner to your Blackboard course
You can add a banner image to your Blackboard Learn course. This helps to personalise the design of the course, and acts as a visual aid for students to let them know which course they are looking at.
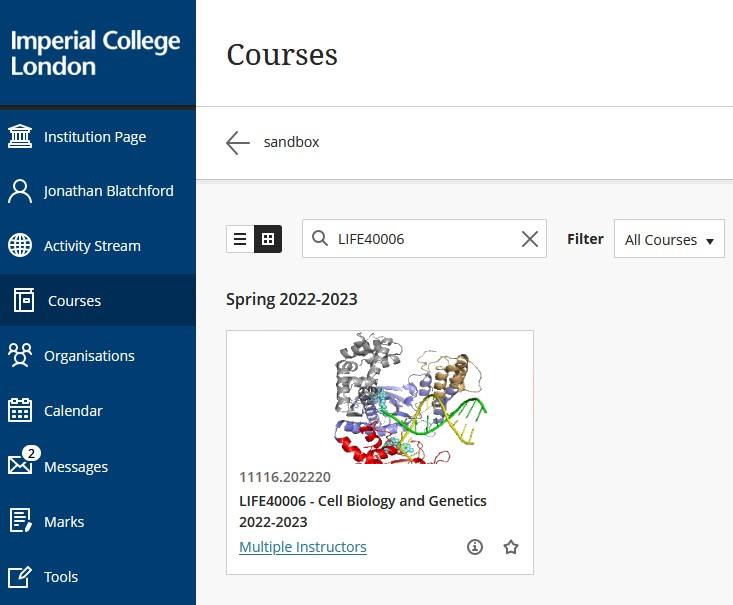
Banners will appear as the image on the "Course Card" in the Tile view of courses in Ultra Base Navigation (UBN) and at the top of the landing page in your course.
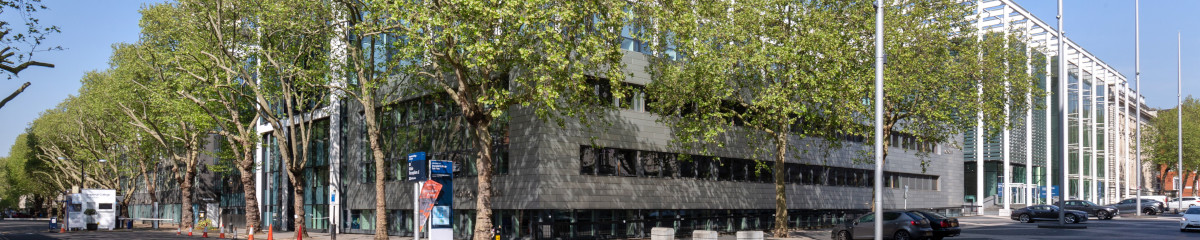
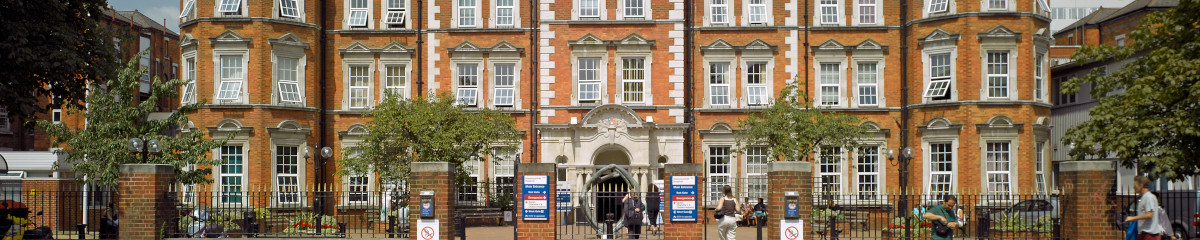
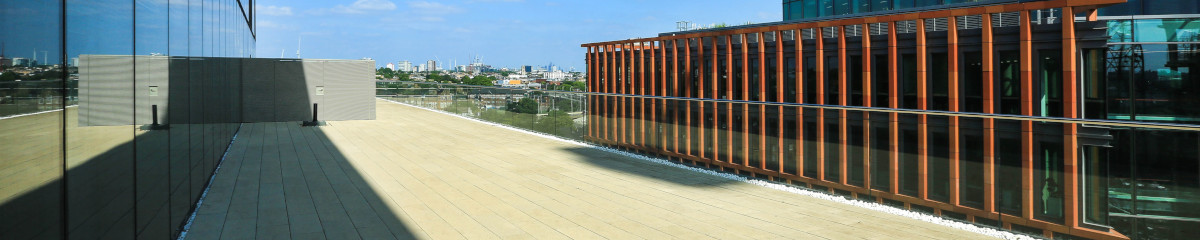
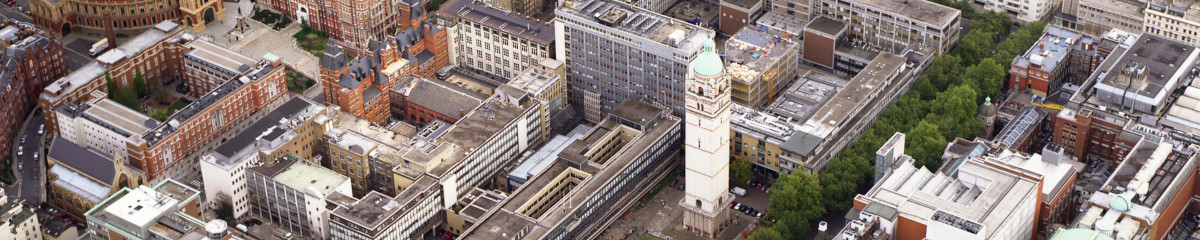
Please see the Banner Image Gallery for pre-made banners that have been approved by your faculty Ed-Tech Lab. If you would like a banner image that is not currently available in the gallery you can contact your faculty Ed-Tech Lab or create your own using the specifications below:
- Recommended dimensions: 1200 pixels width – 300 pixels height (to be compatible with Ultra Base Navigation)
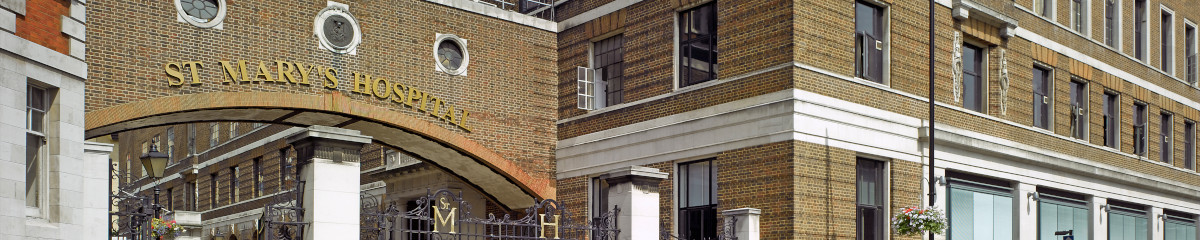
- No text should be included in the image
- File formats: JPG, PNG
- Image resolution: 150 ppi (images that are viewed on the web only need to be low resolution)
- Subject of image should be centered to appear correctly in the automatic crop for the "course card" image
Using images from the banner image gallery
To download an image from the image gallery, find the image you wish to use, right click on it and select "Save image as".
How to upload a banner image to Blackboard
In your Blackboard course go to Control Panel > Customisation > Teaching Style.
Towards the bottom of the page, under SELECT BANNER, click on Browse My Computer to locate and upload the image file you wish to use as a banner.
Press Submit, and the image will now appear at the top of your course landing page.
Banner Image Gallery