Unified Access enables you to access Imperial applications, such as ICIS, from anywhere in the world, directly from your device, without requiring a VPN or the need to connect remotely to a desktop.
The product that ICT is using to provide Unified Access is called Zscaler Private Access (ZPA). This service is available for all Imperial staff and for students who require it for their studies and/or research.
Staff: Unified Access is available on Imperial laptops and can also be accessed from unmanaged or personal devices. Read the instructions below relevant to your device and operating system to get started. You will not need to use a Remote Desktop Connection to connect to a desktop PC as Unified Access will provide access to services directly from your device.
Students: You will need to request access to Unified Access by contacting the ICT Service Desk. Once this has been granted, you can follow the instructions relevant to your device below.
Accessing Unified Access from an Imperial device
The Zscaler client connector software has been automatically rolled out to all managed laptops running Microsoft Windows or Apple MacOS.
Using Unified Access from a College managed device
- You will find the Zscaler client connector icon in the system tray on your device, and you can open it by double clicking or right-clicking and selecting ‘Open Zscaler’.
- The client should log you in automatically, if not, you will need to log in as username@ic.ac.uk with your standard Imperial password. You may also be prompted to approve the login with your usual multi-factor authentication (MFA) method.
NB: It is recommended you disable Private Relay to ensure you can connect to resources. Visit the Mac website for instructions.
- You will find the Zscaler client connector icon in the menu bar at the top of your computer screen.
- Click the icon and select 'open', a dialog box will appear.
- You will need to log in as username@ic.ac.uk with your standard Imperial password. You may also be prompted to approve the login with your usual multi-factor authentication (MFA) method.
- Mac users are required to reauthenticate Zsacler every 24 hours, this will continue until Apple release an update to change this behaviour. The Zscaler icon in the top right hand corner of your toolbar will have a red excalmation mark next to it when it needs to be reauthenticated. You should be able to open Zsacler and select reauthenticate.
Using Unified Access on an unmanaged or personal device
The Zscaler client connector can be installed on Windows, Mac, Linux, Android & iOS. Once your account has been enabled you will need to install the software on your device which is available at our download site. Download the Zscaler client connector.
After installing the software, simply open the Zscaler client connector and log in as username@ic.ac.uk with your standard Imperial password. You may also be prompted to approve the login with your usual multi-factor authentication (MFA) method.
Instructions for accessing UA on Windows, Linux and Mac
- Installing Zscaler Client Connector on Windows
- Installing Zscaler Client Connector on Linux
- Installing Zscaler Client Connector on a Mac
- Download the Zscaler client connector.
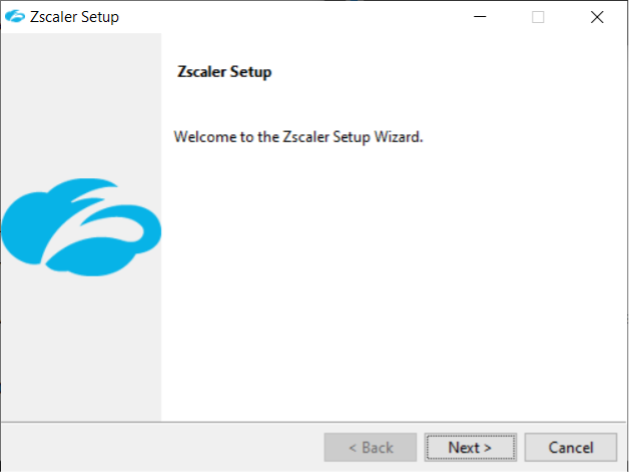
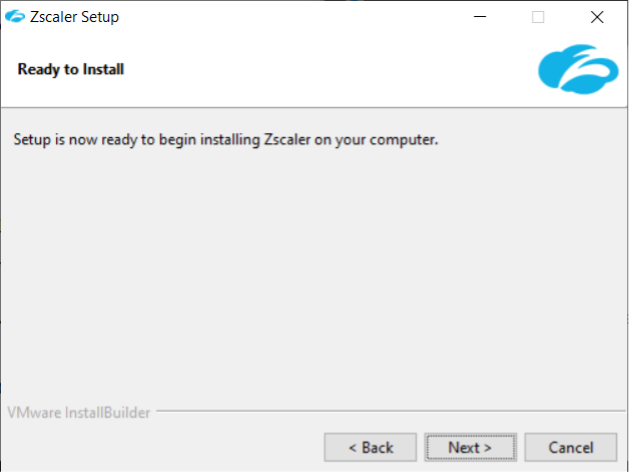
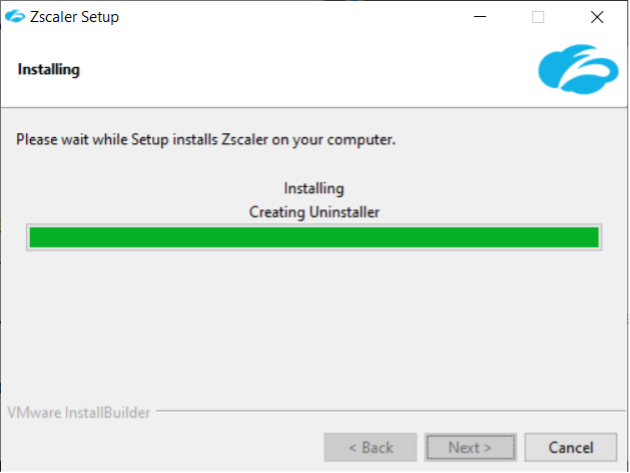
- Once the download is complete run the install file and follow the prompts on the screen.
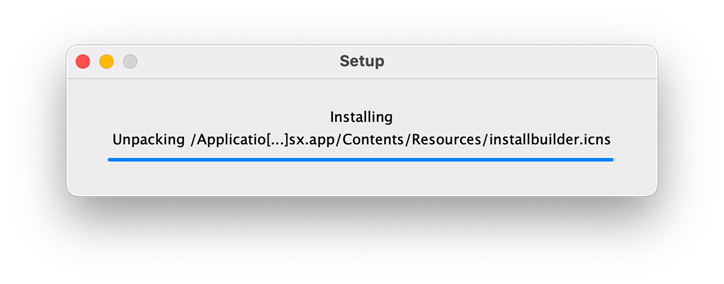
- Press the “Next” button to begin installation. See example screenshots of install process below.
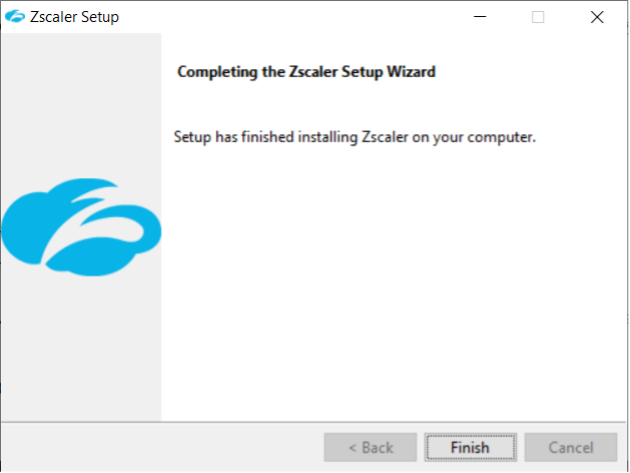
- Once complete the grey logo for Zscaler will appear in your task bar, this indicates that the software is installed but not connected.
- Open the Zscaler app by clicking on the small grey logo in your task bar.
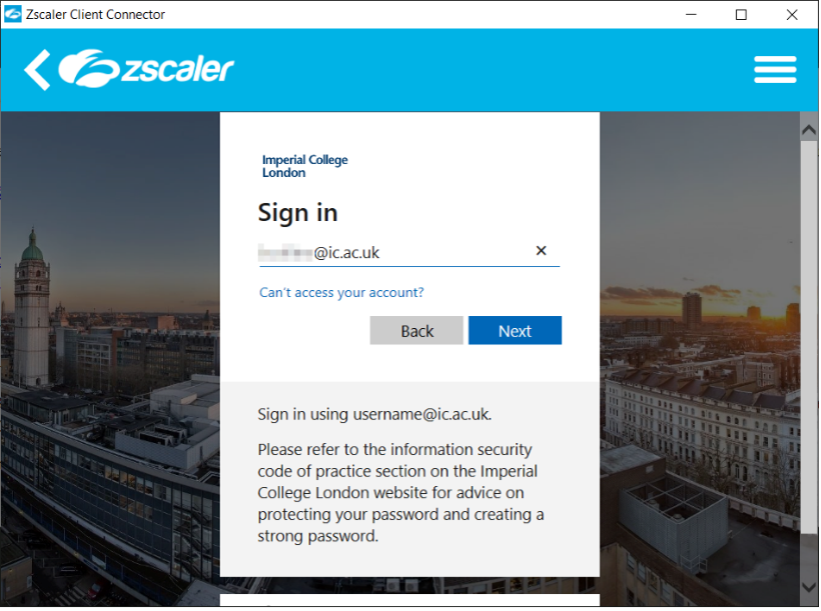
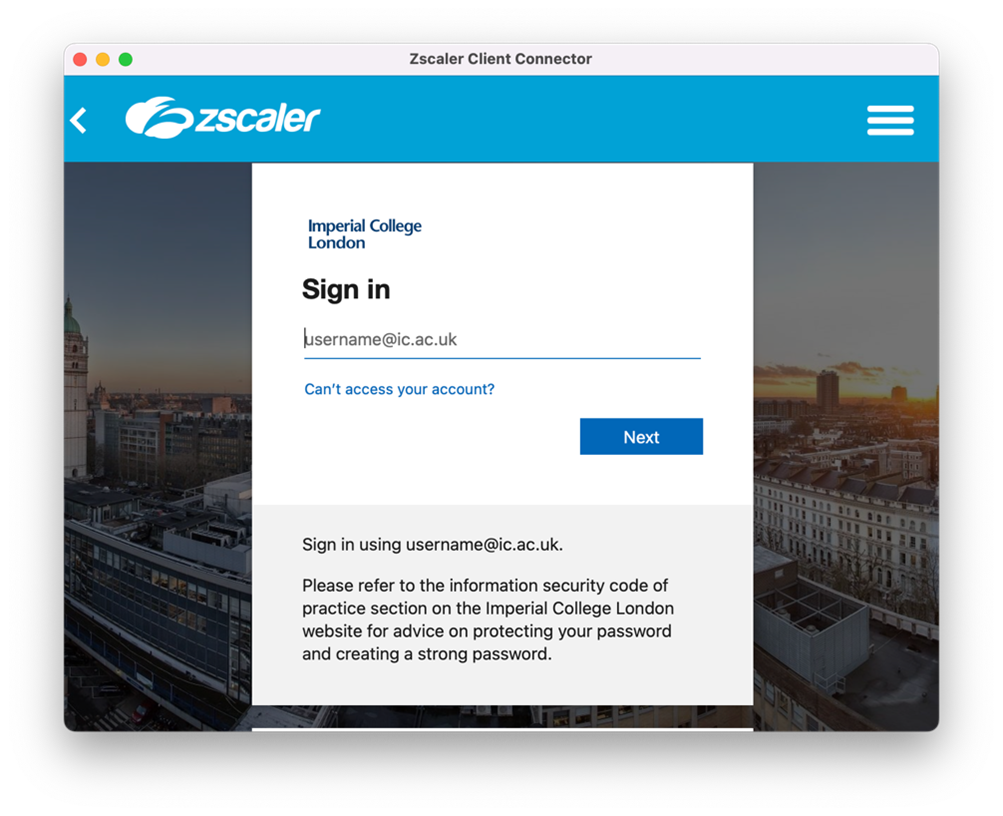
- A dialog box will appear asking you to sign in, please use your College username in the format username@ic.ac.uk.
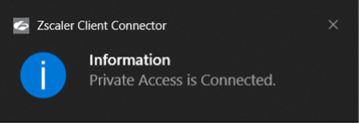
- When the software connects successfully you will receive a popup reading “information, Private Access is Connected”, and the Zscaler icon in the task bar will turn blue.
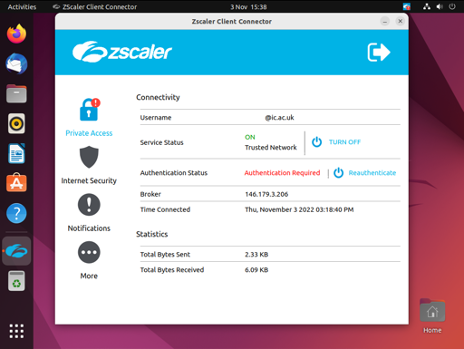
- This can be further verified in the Zscaler software by clicking the “Private Access” padlock symbol and checking that “Service Status” is showing as “ON”.

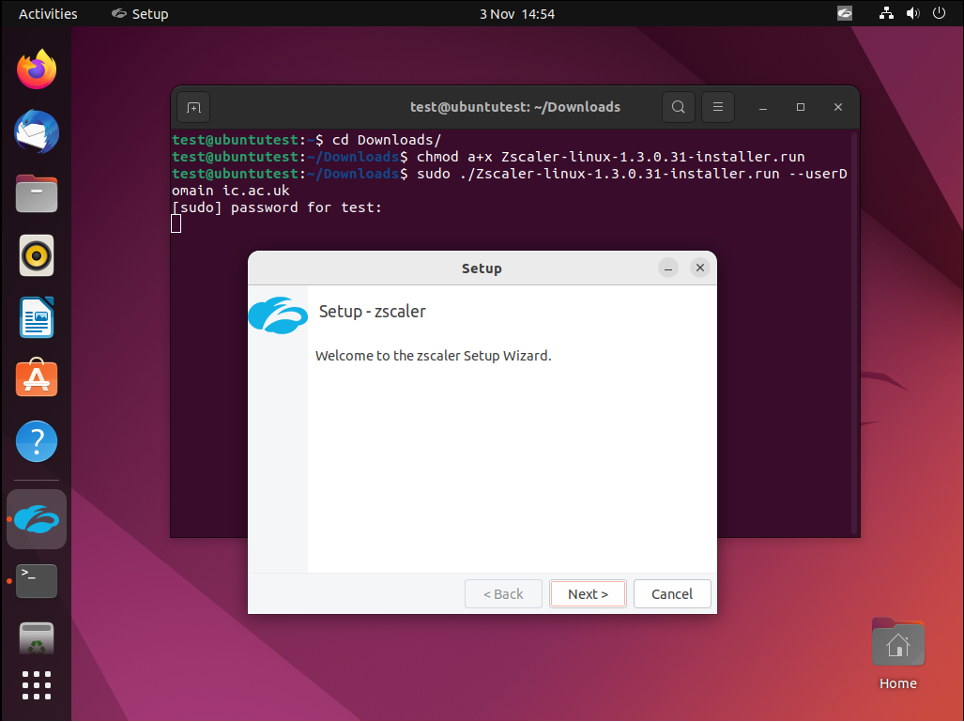
Having downloaded the .run installer file, open a terminal window and change into the download directory (often “Downloads”):
cd Downloads
Make the file executable:
chmod a+x <installerfilename.run>
Execute the file as the super user, ensuring to add the “userDomain” command line switch as this will prevent Zscaler prompting you for the domain every time you log in:
sudo ./<installerfilename.run> --userDomain ic.ac.uk
Enter your password for sudo if prompted and follow the instructions to install the software.
Once installation is complete the Zscaler client should open automatically and prompt you to log in. Enter your username@ic.ac.uk as you would to connect to Office 365. You will be required to enter your password and may need to respond to a multi-factor authentication (MFA) request too.

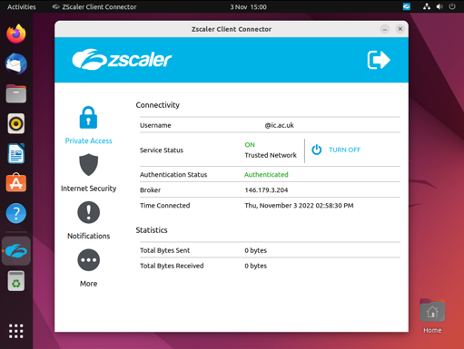
Once connected you will see the Zscaler icon in the system tray will turn blue and under the “Private Access” (padlock icon) section within the client you will see the Service Status indicating “ON”.
Periodically you will need to reauthenticate, indicated by an exclamation mark over the Zscaler icon in the system tray (top right).
Click on the icon, followed by “Open Zscaler”. You should then click on the “Reauthenticate” link within the “Private Access” section and enter your credentials as usual.
NB: It is recommended you disable Private Relay to ensure you can connect to resources. Visit the Mac website for instructions.
- Double click on the .zip file to extract the application:
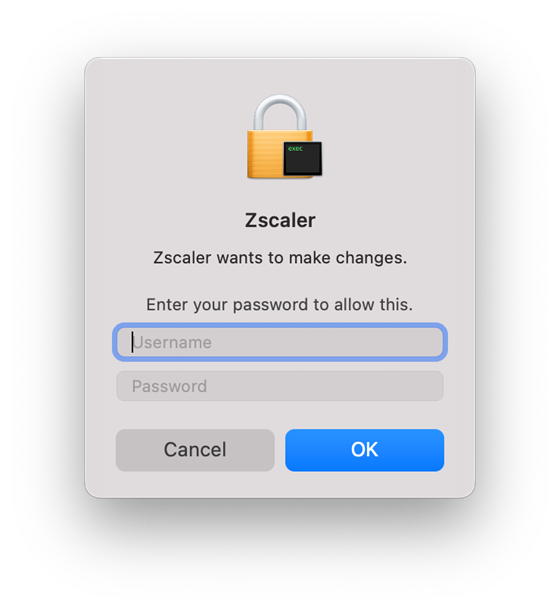
 Double click on the installer and enter your username and password.
- Zscaler will then install on your device.
- Once it has installed, you will need to log into the application using your College username (username@ic.ac.uk) and password.
 You then need to select ‘OK’ to allow Zscaler to allow Zscaler to use your location:

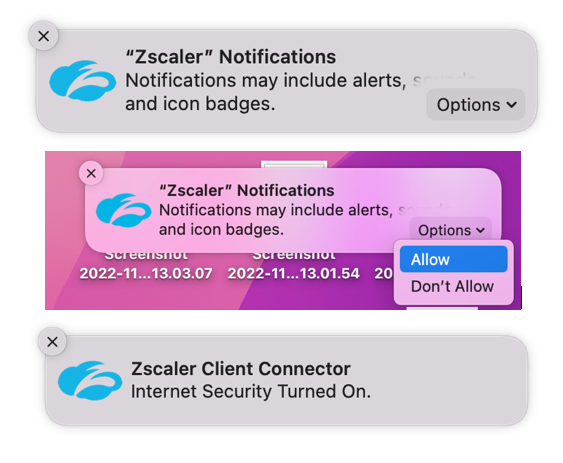
- And then click on ‘options’ to allow notifications:
What to do if you encounter any problems
Please report services that you are unable to reach or any other problems that you encounter while using Unified Access to the ICT Service Desk.
If you encounter blocking issues and you can’t wait for the technical team to resolve them, then you can temporarily disable Unified Access and go back to your previous method of working.
- To do this, open the Zscaler client connector and click on “Turn Off” in the private access section.
- Please remember to go back in and turn it on when you have finished.
Accessing mapped network drives when using Unified Access
With Unified Access you will be able to access all your Imperial file shares and mapped drives directly from your device.
If after being enabled for Unified Access you are unable to access your mapped drives, it could be because of the following two reasons:
- Some people have drives mapped manually on their desktop computers and these need to be recreated manually on their laptop.
- Some drives have been mapped using the “short” name of the server (e.g. \\icfs5) rather than the “long” name (e.g. \\icfs5.cc.ic.ac.uk). Unified Access requires that all connections are made using the long name (also known as the Fully Qualified Domain Name or FQDN).
It should be possible for you to resolve both these problems yourself by following the below instructions.
Accessing mapped network drives when using Unified Access
- Open Windows File Explorer by typing 'File Explorer' in the windows search bar next to the start button and then clicking on the file explorer app icon.
- Within file explorer, right click on 'This PC' and select 'Map network drive…'
- You can then select the drive letter that you would like to use and enter the full path to the folder, ensuring that you use the "long" (fully qualified) server name. For example, \\icfs5.cc.ic.ac.uk\FINANCE_sysaccws
- Make sure the 'Reconnect at sign-in' button is checked and press 'Finish'
If you need assistance, please contact the ICT Service Desk and they will be happy to help you.
If you have a drive which is mapped to the short name of a server then this will first need to be disconnected so that you can create it with the correct name following the above instructions.
- Right click on the drive in 'File Explorer' and select 'Disconnect item'.
Benefits of Unified Access
Unified Access is a single connection route, replacing the need for staff to use multiple VPN services or a remote desktop connection to access Imperial applications.
Unified Access provides a more secure connection than VPN, as it ensures that access to Imperial applications is connected to your account details (Imperial username and password), which has the added protection of Multi-Factor Authentication. It also stops the need for services to be exposed on any internet connection (Imperial Wi-Fi or your home connection). These factors reduce the risk of cyber security threats.
ZScaler
Imperial is using ZScaler to provide Unified Access - view ZScaler's security compliance accreditations on their website.
Zscaler removes the need for all traffic to be routed via Imperial, which provides an additional layer of privacy for you compared to using a VPN service. The only data logged about your activity when you use Unified Access are the servers you access (this data is only used for monitoring and maintenance of the system) and the Imperial systems you connect to (some external connections that require a connection from an Imperial IP address are also logged).
Governance of this data falls under Code of Practice 3 - Inspection of Electronic Communications and Data.