This page covers the following topics:
- Uploading a new version of an existing document file
- Deleting a single document from the Media Library
- Deleting multiple files (in bulk)
If you are upoading a completely new file, please see Adding documents: pdfs, Word, zip etc.
Upload a new version of an existing file
Before you start
1. Make sure your document is a valid file type.
| Name | File extension(s) |
|---|---|
| Portable Document Format (PDF) | |
| Microsoft Word | .doc, .docx |
| Microsoft Excel | .xls, .xlsx |
| Microsoft PowerPoint | .ppt, .pptx |
| Zip (compressed) file | .zip |
These are the main file types, if you are looking to upload another type of file, please check with your Faculty Web Officer first.
2. Make sure the filename of the document you are uploading is 'URL friendly', this is because the filename becomes part of the web address. So you should:
- Make it as short as possible
- Separate words with a hyphen (-) rather than spaces
- Remove any special characters including < > ; ‘ “ ~ ` ,$ £ # @ ^ * ()
Bad example of a filename - Training department's contacts version 1.44 - July 2024 (final version).pdf
Good example of a filename - training-department-contact-list.pdf
Important: If updating an existing document we would highly recommend naming the file the same as the previous version. This will avoid creating broken links.
Redirects will not be set up for changed document file names.
Instructions
1. Click on Content in the left hand menu and then select Media Library.
If this is is the first time you have used the Media Library that day, then the categories (folders) will be in a collapsed view (like below). If you have recently used it, then T4 will remember which folder you were in previously, so that will be open.
2. Click on the + symbol next to Categorised, to expand that category (folder).
You will see two main categories (folders) -
- Images - Where the website images are stored. Find out more about images.
- Imperial College - This is where all existing documents are stored and where any new documents should be upoaded.
3. Click on the + symbol next to Imperial College, to expand that category (folder).

Note: You will be able to see all of the categories for the website, but you will only be able to add or update documents to categories (folders) you have been given access to.
4. Navigate to where the document you want to update is stored. In my example I am updating a PDF document To the folder in Web Training > Admin > Public category. Please check with your main website editor or Faculty Web Officer if you are unsure.
Note: A document that is put in a Public folder is open for all to see. If you select the Internal folder your document will be log in only. If you cannot see your internal folder, please contact your Faculty Web Officer who can set one up.
If you know the name of the file you can use the search Filter to locate it (as I have below) or you can browse the folder.
5. Click the document name link or you can click Actions and select Edit. Both of these will open up the details form for the file:

6. Click the box next to the Media file field. This will allow you to select a new file from your computer.
7. Once that has finished click Save changes.
8. The file update will take effect when you publish a page where the document is linked from or once the overnight site-wide publish has completed. See instructions for publishing a section (page).
See also: Adding a link to a document in your content
Deleting a single document file
1. Locate the file in the Media Library (see steps 1 to 4 in the instructions for updating a file above).
2. Click on the corresponding blue Actions button and select Delete.
 You will then see a prompt informing you of any content that is linking to that file like the one below:
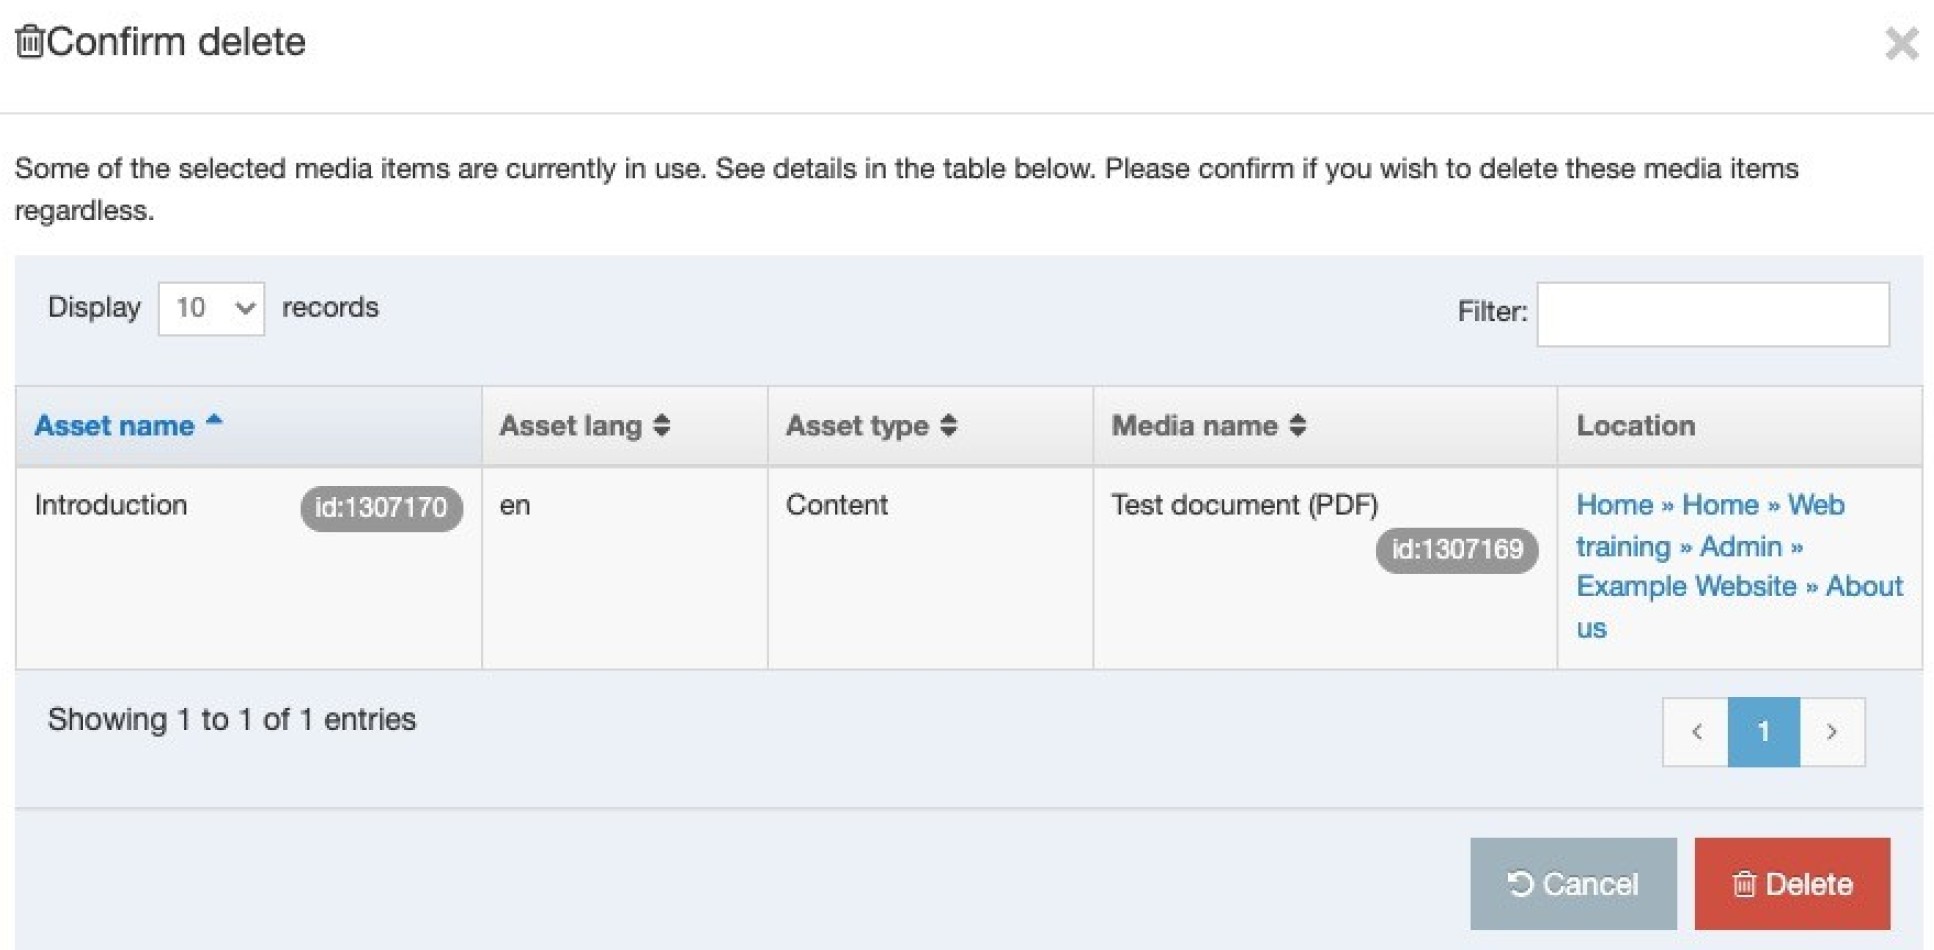 To visit the content Item that the Media Item appears in, select the path (in Location column) and it will open in a new tab. If it is a section (page) that you have editing rights to then you can remove the link from the content. If it is not a page you can edit, please contact your Faculty Web Officer.
3. Click Delete to confirm the deletion or Cancel if you are not ready to delete the file.
Note: Once the file is deleted it will be set as Inactive and will be purged from the system on the following Monday morning. After this it will not be possible to retrieve it.

Deleting multiple files
1. Locate the files in the Media Library (see steps 1 to 4 in the instructions for updating a file above).
2. When you see the file list you can click on the tick boxes for each of the files you want to delete.

3. Click Bulk actions and select Delete

4. To confirm the deletion click Delete again.
Deleted a document by mistake?
If you delete a file by mistake you can simply click on the Name of the Inactive file in the Media Library and then click Save changes. This will change the status back to Approved. If you cannot find a file then it may be because it was purged the previous Monday morning. Purged content and files cannot be retrieved.